When searching for the best auto collision center near me, you should expect a rigorous 30-point quality assurance checklist covering structural alignment, panel fitment, precise paint color matching, and meticulous reassembly. Thorough post-accident inspections ensure that hidden structural damage is properly identified and that all cosmetic repairs seamlessly blend with your vehicle’s original factory finish.
Why a Comprehensive Quality Assurance Checklist Matters in Houston
Modern vehicles are incredibly complex machines designed with intricate crumple zones, advanced structural metals, and highly specific paint finishes. When you are involved in a collision on Houston’s busy highways, the visible damage on the outside is rarely the full story. Identifying how to choose the best collision experts for your car repairs comes down to finding a facility that refuses to cut corners and follows strict, documented procedures.
According to safety guidelines established by organizations like the National Highway Traffic Safety Administration (NHTSA), compromised vehicle structures can drastically reduce passenger safety in the event of a secondary collision. A dedicated 30-point inspection prevents substandard repairs, ensuring your vehicle is restored safely and aesthetically.
Phase 1: Pre-Repair Teardown and Structural Assessment
Before any auto body repair begins, a thorough teardown is required. This phase is critical for uncovering hidden damage behind bumpers and quarter panels that the initial insurance estimate likely missed.
- Point 1: Initial Visual Inspection: Documenting all visible exterior damage, panel misalignments, and scratches related to the impact.
- Point 2: Complete Vehicle Teardown: Removing damaged exterior panels to expose the inner structural components of the vehicle.
- Point 3: Computerized 3D Frame Measurement: Utilizing advanced diagnostic measurement systems to verify if the vehicle’s unibody or frame has been pushed out of factory specifications.
- Point 4: Hidden Damage Identification: Searching for cracked welds, creased inner brackets, and bent supports that were not visible from the outside.
- Point 5: Photography for Insurance Documentation: Capturing clear, well-lit photos of all newly discovered damage to prove necessity to the insurance adjuster.
- Point 6: Filing Necessary Insurance Supplements: Communicating with your insurer. If you are wondering what is a supplement on an insurance estimate, it is simply a request for additional funds to cover this newly uncovered hidden damage.
- Point 7: Post-Pull Structural Verification: Re-measuring the frame after pulling it on the frame rack to confirm the vehicle’s core structure has been restored to its proper dimensions.
Phase 2: Panel Replacement and Body Work
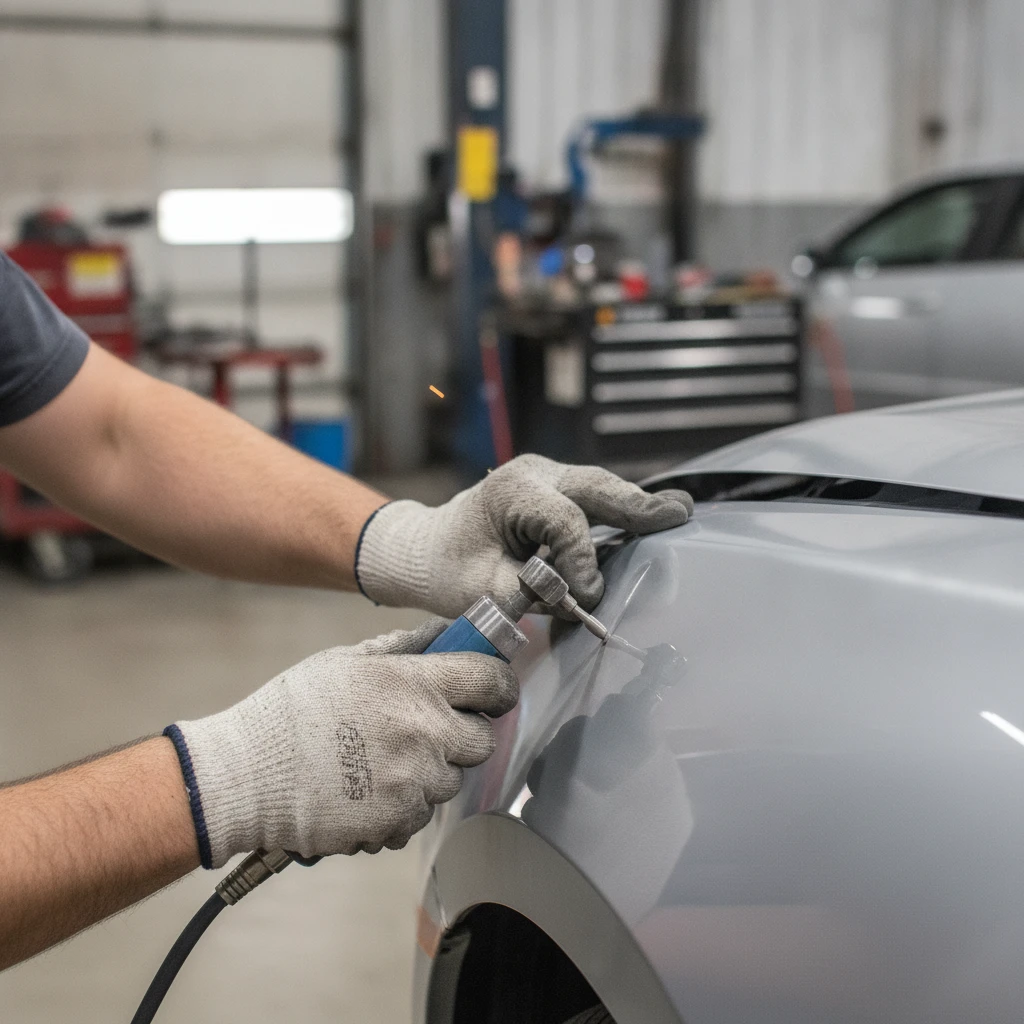
Once the frame is perfectly aligned, the focus shifts to the vehicle’s exterior shell. This phase involves repairing salvageable metal and replacing severely compromised panels.
- Point 8: Parts Verification: Inspecting all arriving replacement parts for shipping damage and verifying you are getting the correct components based on your choice of OEM vs aftermarket parts.
- Point 9: Test-Fitting Replacement Panels: Temporarily attaching new fenders, doors, or hoods to check for proper alignment before any painting begins.
- Point 10: Checking Panel Gaps: Adjusting hinges and brackets to ensure the gaps between panels are completely uniform and match the factory specifications.
- Point 11: Application of Corrosion Protection: Treating any exposed bare metal with rust-inhibiting epoxy or corrosion-resistant primers.
- Point 12: Precision Welding: Performing specialized welding for structural panels, ensuring the heat does not warp the surrounding metal.
- Point 13: Block Sanding and Body Filler: Using professional-grade body filler on repaired dents, followed by meticulous block sanding to create a perfectly flat surface.
- Point 14: Final Metalwork Inspection: Running a specialized guide coat over the repaired area to verify the bodywork is flawlessly smooth before it is sent to the paint booth.
Comparing Repair Standards: Professional vs. Substandard
Not all repair facilities adhere to strict QA checklists. Here is a breakdown of what separates quality auto body work from rushed repairs:
| Repair Element | Quality Collision Center Standard | Substandard Repair Warning Signs |
|---|---|---|
| Panel Gaps | Even, uniform spacing consistent with factory specs. | Uneven spacing, doors rubbing against fenders. |
| Paint Finish | Seamless color blending, smooth clear coat texture. | Visible overspray, mismatched colors, “orange peel” texture. |
| Structural Integrity | Computerized measurement to the exact millimeter. | “Eyeballing” the frame, leaving internal metal creased. |
| Documentation | Thorough photos and itemized supplement reports. | Vague invoices, skipping hidden damage repairs. |
Phase 3: Paint Preparation and Refinishing
Painting a vehicle is an incredibly delicate process. High humidity, dust, and intense UV rays all play a role in how automotive paint behaves. Understanding Houston weather vs your car paint is crucial for ensuring the new finish cures correctly and lasts.
- Point 15: Masking and Taping: Carefully sealing off undamaged adjacent panels, windows, and trim to prevent unwanted paint overspray.
- Point 16: Surface Degreasing: Using specialized prep solvents to remove microscopic oils, waxes, and fingerprints from the repair area.
- Point 17: Primer Application: Spraying high-build primer to create a binding layer between the metal bodywork and the new color.
- Point 18: Computerized Color Mixing: Utilizing digital spectrophotometers to analyze the current shade of your vehicle and mix the precise paint formula to match it.
- Point 19: Base Coat Application and Blending: Spraying the color layer and expertly blending it into the adjacent, undamaged panels to trick the eye and avoid a harsh transition line.
- Point 20: Protective Clear Coat: Sealing the base color with multiple layers of automotive clear coat for UV protection and a glossy finish.
- Point 21: Wet Sanding and Buffing: Carefully polishing the newly painted surface to remove any tiny dust nibs and match the subtle factory texture of the rest of the car.
Phase 4: Reassembly and Fitment
Once the paint is cured, the vehicle moves to reassembly. This is where all the final exterior pieces are put back together like a puzzle.
Important Service Exclusion Note: It is vital to understand that collision repair centers focus exclusively on the exterior body shell, frame integrity, and paintwork. If your accident caused damage to internal mechanical systems (such as the engine, transmission, brakes, tires, or steering columns), or if you require routine mechanic work like an oil change or automotive glass/windshield replacement, these services are explicitly excluded from auto body work. You will need to take your vehicle to a specialized mechanical shop or auto glass provider to address those specific issues.
- Point 22: Reinstallation of Housings: Securing headlight and taillight housings back into their proper brackets.
- Point 23: Re-securing Bumpers and Grilles: Attaching plastic bumper covers, front grilles, and exterior trim pieces.
- Point 24: Reattaching Weatherstripping: Installing the rubber seals around doors and trunks to prevent water leaks.
- Point 25: Re-applying Emblems and Badges: Placing manufacturer logos and model badges in their exact factory locations using automotive-grade adhesive.
- Point 26: Checking Latch Operation: Opening and closing all repaired doors, hoods, and trunks multiple times to ensure the latches catch smoothly and securely.
Phase 5: Final Quality Control (QC) and Delivery
The final phase ensures that the vehicle is entirely clean and ready to be safely returned to the driver. As outlined by resources like the Texas Department of Insurance, drivers have rights regarding where and how their vehicle is repaired—a rigorous final QC process honors that trust.
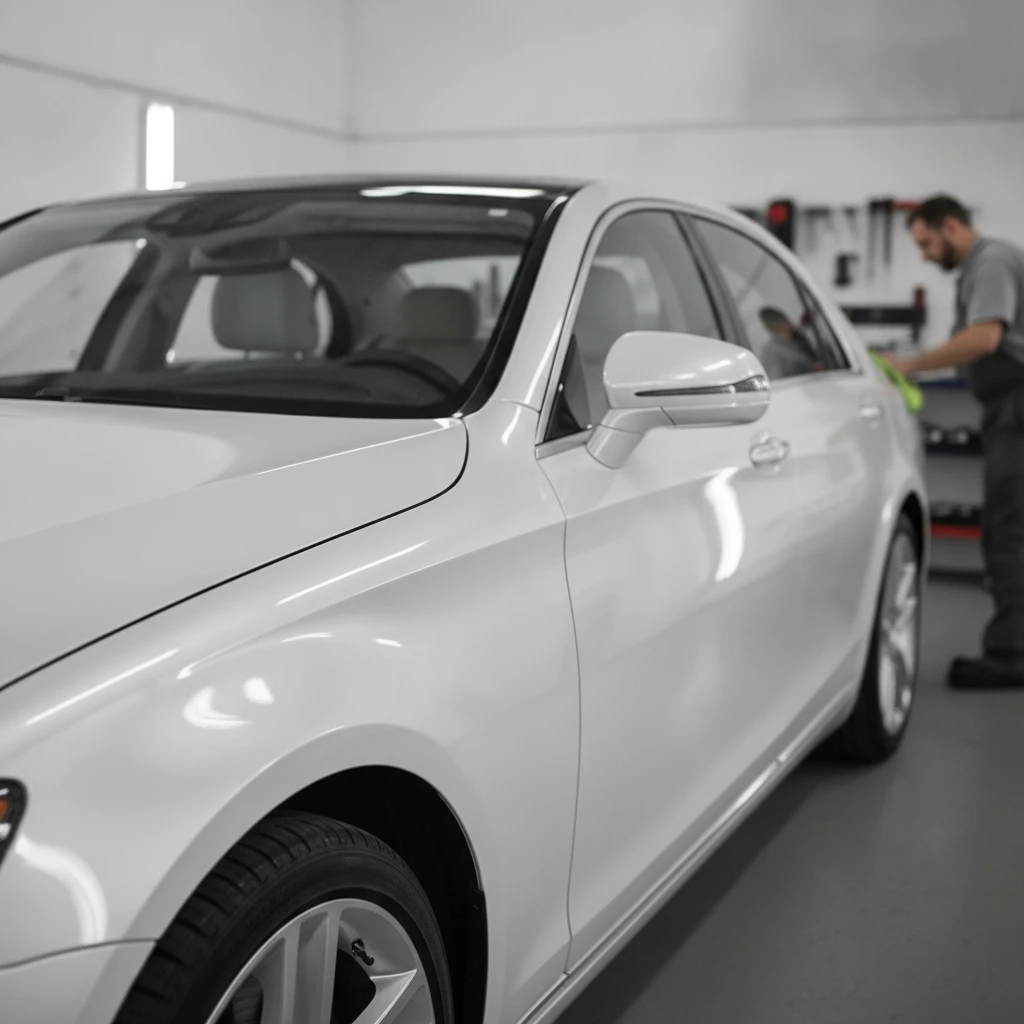
- Point 27: Comprehensive Exterior Wash: Thoroughly washing the exterior to remove any lingering shop dust and reveal the true quality of the paint match under natural light.
- Point 28: Interior Clean-Up: Wiping down the dashboard, vacuuming the floor mats, and ensuring no body shop residue was left inside the cabin.
- Point 29: Final Visual Walk-Around: A dedicated quality control manager inspects the vehicle panel by panel under specialized inspection lighting.
- Point 30: Preparation of Final Repair Documentation: Compiling the initial estimate, approved supplements, and a final itemized breakdown of all body work performed for the customer’s records.
Frequently Asked Questions (FAQ)
How do I know if my car’s frame was fixed correctly after an accident?
A professional collision center will use computerized 3D measuring systems before, during, and after the frame pulling process. This technology ensures the vehicle’s structural points are returned to exact factory specifications. Always ask your collision repair facility if they utilize digital measurement systems during the teardown and repair phases.
Will the new paint perfectly match the rest of my car?
Yes, through a process called blending. While digital color matching creates a highly accurate base color, slight variations in how paint ages in the sun mean a direct panel-to-panel match is difficult. Professionals spray the newly mixed paint into the adjacent, undamaged panels so that the new color slowly fades into the old color, making the repair completely invisible to the naked eye.
Can an auto body shop fix my engine or replace my brakes after a crash?
No. Auto body and collision centers specialize strictly in restoring the metal frame, exterior body panels, and automotive paint. Services involving internal mechanical systems (engine repair, transmission work, brake pad replacement, tire alignments, oil changes) and automotive glass or windshield replacements are separate specialties. You will need to coordinate with dedicated mechanics or glass specialists for those specific repairs.
Do I have to use the collision center my insurance company recommends?
No. Under Texas law, you have the absolute right to choose the auto body repair facility that works on your vehicle. Your insurance company cannot legally force you to use one of their direct repair program (DRP) shops. It is always in your best interest to find a collision center that prioritizes a strict quality assurance checklist over a rushed turnaround time.
Schedule Your Quality Collision Repair Today
Finding a repair facility that meticulously adheres to a rigorous QA checklist is the only way to ensure your vehicle looks incredible and remains structurally sound after an accident. From the initial frame measurement to the final polish of the clear coat, we take pride in delivering uncompromising auto body and collision repair services for Houston drivers. If your vehicle has suffered body damage and you need a team that prioritizes precision over speed, contact us today at (832) 400-5423 to schedule your comprehensive post-accident inspection and estimate.